Pool caulking is also known as mastic or sealant.
This stuff plays a key role in protecting your inground pool, so if your caulking is damaged or compromised, you should waste no time replacing it.
In this article, we’ll talk about why pool caulking is necessary, how to know if you should replace it, and how to fix it yourself (step-by-step).
Prefer to skip ahead?
What Does Pool Caulking Do?
In short, it’s a sealant that protects the expansion joint.
The expansion joint is essentially a narrow gap around the perimeter of your pool, directly between your coping and pool deck.
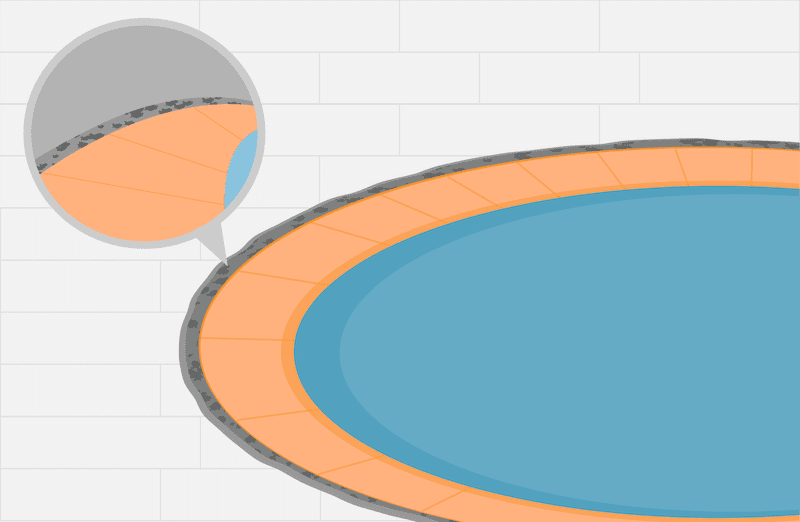
As the name suggests, this joint compensates for the natural expansion of your pool deck and pool wall caused by the sun’s heat. (Yes, concrete expands under the right temperatures.)
Without caulking, the joint is vulnerable to all kinds of dirt, sand, and grit, which, if compacted, eliminates the “breathing room” required to prevent cracking and other expensive damage to your pool.
Even worse, if water repeatedly gets into the expansion joint, it will eventually weaken your coping and possibly even your pool tiles.
It’s not all about damage prevention, though. Caulking can also make your swimming pool look more aesthetically pleasing, and what pool owner doesn’t want that?
How to Know If Your Pool Caulk Needs Replacing
Pool caulking should last 5-10 years before needing to be replaced, though this timeframe largely depends on where you live and how often you use your pool.
If you live in an area that experiences extreme weather, particularly where there are big swings in temperature, your caulking will likely need replacing much sooner.
Not only that, if you use your pool often, particularly if you have kids that tend to splash water out, the constant exposure to water can accelerate the deterioration of the caulk sealant.
The only way to be sure is to check for damage such as cracking or holes around the perimeter expansion joint, as well as any separation of the caulking from the concrete.
If you do see damage, you don’t necessarily need to replace all of the caulking, just wherever it’s compromised.
How to Replace Your Pool Caulking (DIY)
Calling a professional is always a good option when it comes to repairing your swimming pool, however, caulking isn’t too difficult to replace if you have the right tools on hand.
Here’s what you’ll need:
- Damp towel or cloth
- Sheet of cardboard
- Brush or leaf blower
Step 1: Prep the Area
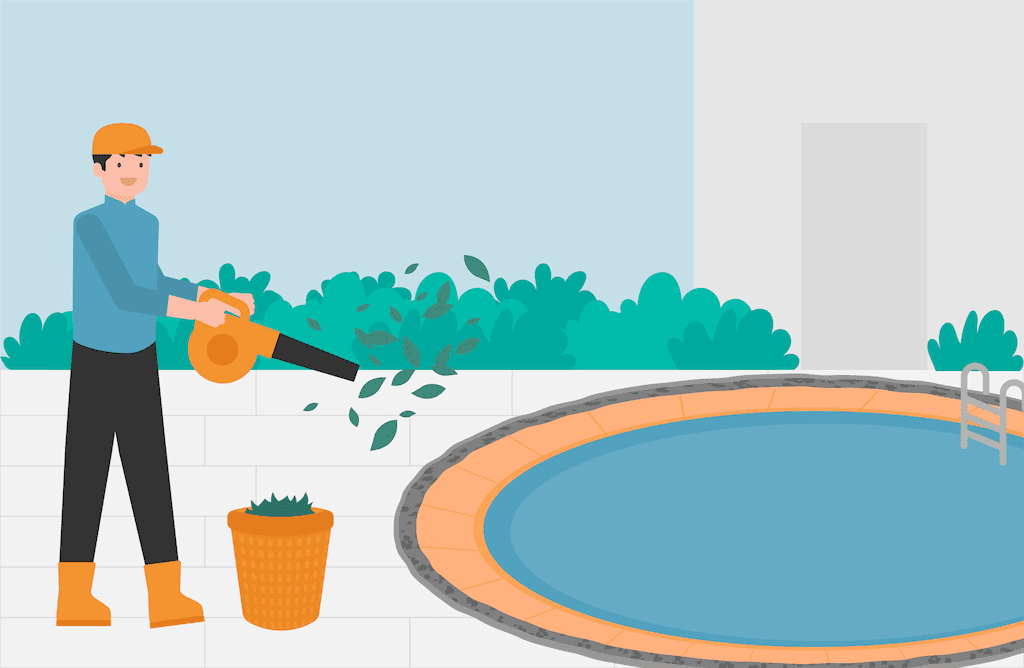
Before you start pulling up the old caulking, you should first clear the surrounding area of any debris, including dirt, leaves, and stones.
The next step will leave a pretty deep groove where the caulking once was, and the spacing may end up being uneven if large chunks of debris find their way into this groove.
A leaf blower is ideal but a household brush and some elbow grease will work in place of that. I know, it’s a pain — but it’s worth spending a few minutes here to save yourself the headache later on.
Step 2. Pull Up Your Damaged Caulking
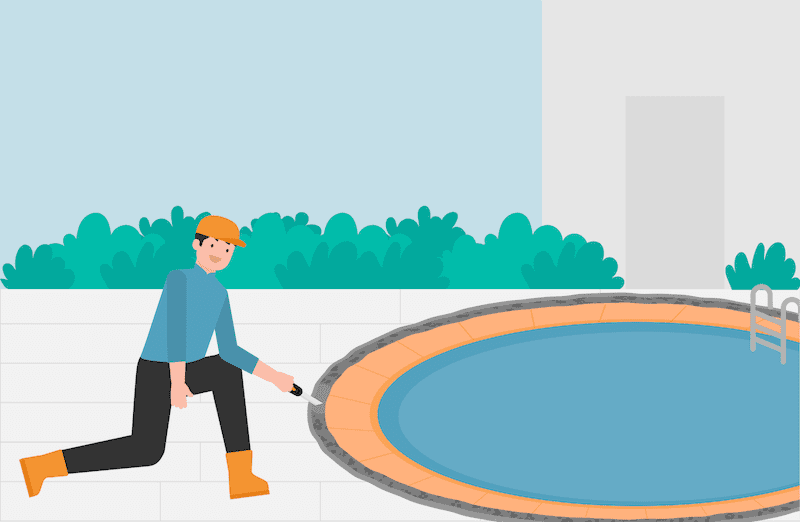
You’ll need to get down on your knees and identify exactly where your pool caulking is damaged. If you notice lots of holes, cracks, or peeling then it’s best to replace the whole thing.
Once you know where to cut, it’s time to bring out your cutting tool. A power-cutting tool is your best bet here, though most industrial knives will work — especially if you can get hold of a specialized caulking knife.
With your blade in hand, cut and scrape into the old, damaged caulking until it’s loose enough to pull up with your hands. This should expose the foam backer rod underneath that also needs to be pulled up.
Step 3. Insert Your New Foam Backer Rod
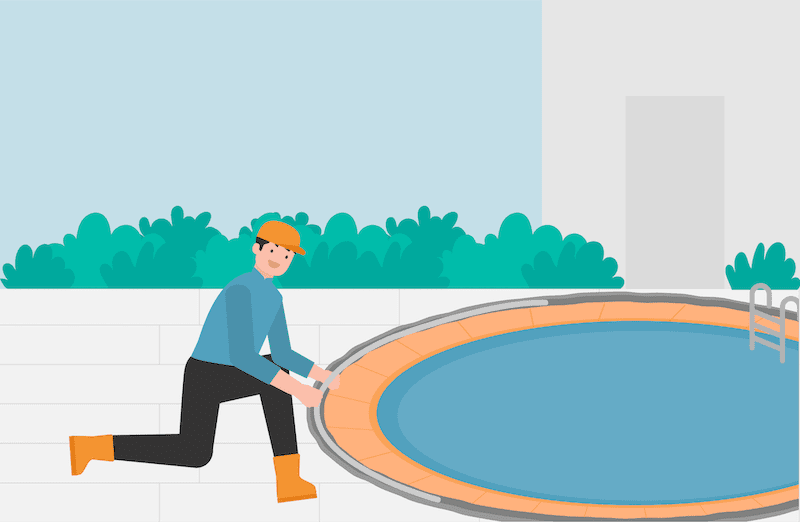
Take your new foam backer rod and start working it into the exposed groove.
You can measure and cut the required length beforehand or just cut the excess foam once it’s already filled.
No products found.
You should be able to do this manually with your fingers, and it’s important to push it firmly in place in order to build a strong base for the caulking (or mastic) to rest on.
Finally, before moving on to the next step, be sure to measure the distance between the backer rod and the surface of your pool deck/coping. This should be about half an inch deep, otherwise, you may need to prop up the backer rod with some loose soil.
Step 4. Apply New Caulking Over the Foam Rod
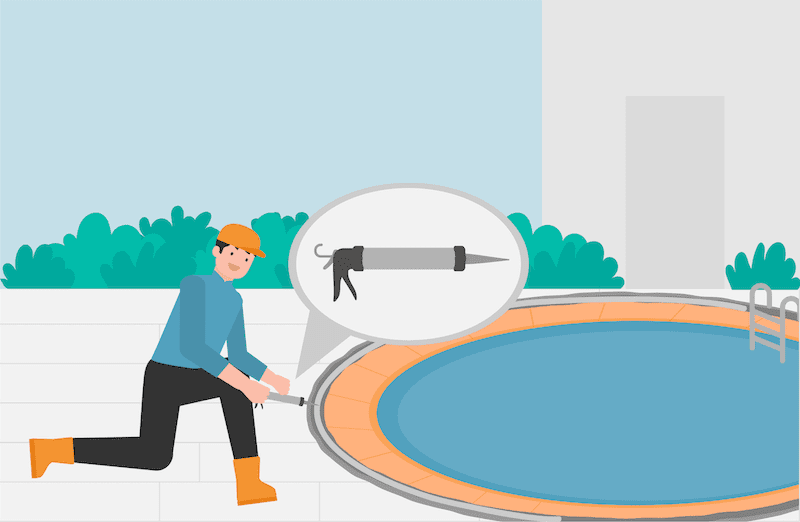
Next, grab your tube of sealant and place it in the caulking gun.
In terms of brand names, Deck-O-Seal or Sikaflex are good options.
No products found.
To avoid getting caulking in places it doesn’t belong, place it over a sheet of cardboard before cutting the tube with your knife. It’s also advised to have your damp towel ready to clean up any mastic that drips onto your deck.
When you’re ready, slowly run the caulking gun over the groove while pulling the trigger to lay a thick bead of caulking on top of the backer rod. This should even out and slowly fill the gap completely.
Pro tip: For a more textured finish, consider sprinkling some sand over the wet bead of caulking. This will also help it blend seamlessly into your pool deck and coping if the color of the sealant doesn’t match.
Step 5. Wait for It to Dry
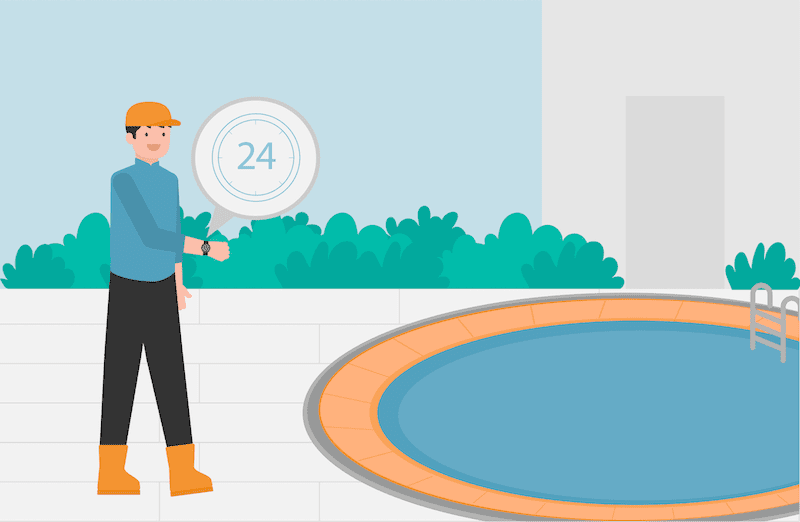
You’ll need to allow at least 24 hours for the sealant to dry and harden. In the meantime, keep children and pets away from the pool area in order to avoid any imprints.
Once dry, lightly brush the area to remove any lingering sand or debris, before taking a few moments to marvel at your work (that last part is totally necessary, by the way).
That’s it, you’re done!
I’ll Stop Talking, You Start Caulking.
Replacing your swimming pool caulking doesn’t need to be a big or expensive job, but it will be if you leave it compromised for too long.
Fortunately, these types of repairs are few and far between, as freshly laid pool mastic will last many years when done correctly.